| -Dr
REBUILDS's Corvette Parts |
| Tips- How to Install P.S.A.
P.S.A.
= Pressure Sensative Adhesive |
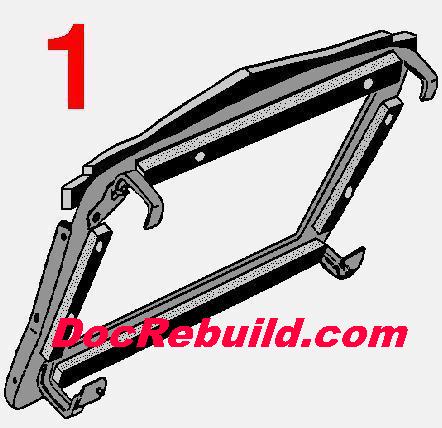
| 1. |
Note the position of your original seals prior to removing
them from the radiator support or fan shroud. If they are missing consult
an Assembly Instruction Manual. |
 |
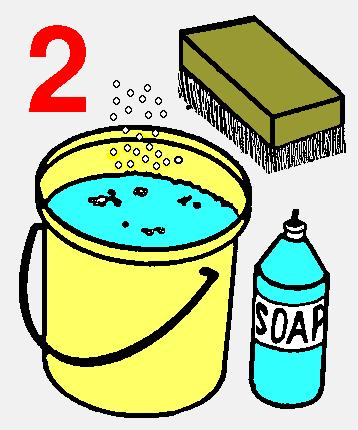
| 2. |
Thoroughly clean the radiator support surfaces to remove
your old seals, dirt and grease. Remove any loose paint, then prime &
repaint as needed. |
 |
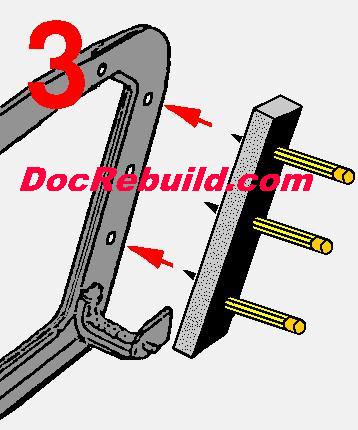
| 3. |
Determine the location of all parts i.e. Upper, Lower,
Left Side and Right Side. To aid positioning, line up parts with holes by
pushing pencils into the holes. |
 |
| 4. |
Remove the protective paper covering the adhesive. Do not
permit the adhesive to contact grease, dirt, "finger fat" or other
contaminants. |
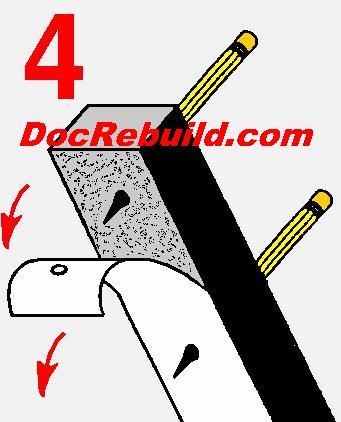 |
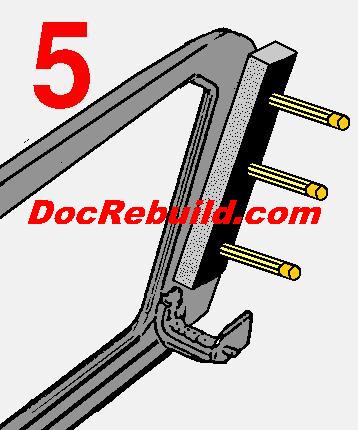
| 5. |
Line up parts and apply firm even pressure over the entire
surface of the seal. WARNING: once in place, these seals can not be moved without tearing the
rubber. |
 |